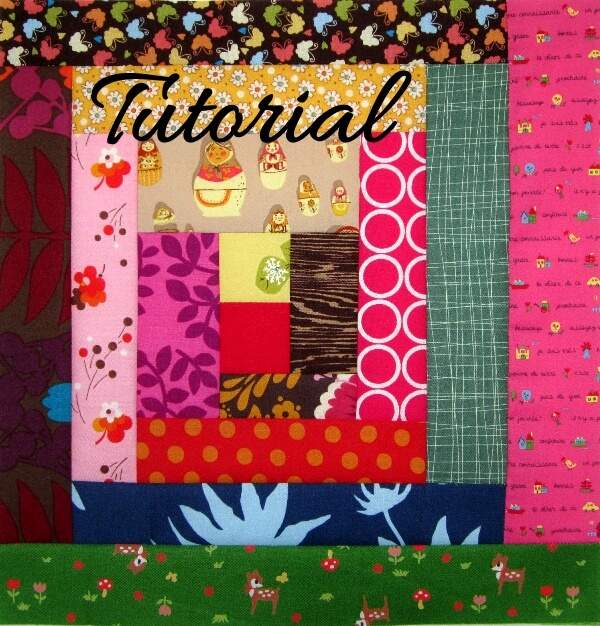
Log Cabin Quilt Blocks – Strip Piecing Tutorial
 I love Log Cabin blocks for their history, their homey look, and the many different quilt patterns you can create with them. They are easy to make, too. You can strip piece a whole quilt’s worth of Log Cabin blocks in just a few hours.
A Log Cabin block consists of two sets of “logs,” one set made from lighter fabrics and the other from darker fabrics, stacked like stair steps around a central square. The center square represents the cabin’s hearth and is traditionally made from red fabric.
See several basic Log Cabin blocks, plus other variations on the block.
Supply List
These instructions will show you how to make twelve blocks. The completed blocks should measure 11½”, for a finished size of 11”. Here’s what you will need:
- 1/8 yard red fabric for the center hearth squares. (I’ve called for red, but you can substitute any other color you prefer.)
- 3/4 yard of light-colored solid or print fabric for the light logs.
- 7/8 yard of dark-colored solid or print fabric for the dark logs.
- (Optional) ¼” quilting foot for the sewing machine.
- Quilting thread or all-purpose thread in a neutral color such as beige or grey. I’ve recently been piecing with grey Aurifil cotton thread and I like it a lot.
Step-by-Step Strip Piecing Instructions
You build the block by sewing logs onto the center unit one at a time, until the block has 6 light logs and 6 dark logs arranged around the center in a stair step pattern. You can make the block even larger by continuing to add strips.
This diagram shows a finished Log Cabin block with the log strips numbered in the order they should be added. 
To start, cut the following fabric strips across the full width of the fabric from selvage to selvage, then trim off the selvage ends:
- One 2½” strip of hearth fabric for the center squares
- Eleven 2” strips of light fabric
- Fourteen 2” strips of dark fabric.
Stack the fabric strips into piles for sewing. Stack each fabric color in a separate pile.
To piece the block:
- Lay a light-colored log strip over a strip of the center hearth fabric, with right sides of the strips together and their long edges aligned.
- Sew the two strips together along their long sides with a scant ¼” seam.

- Press the seam toward the darker fabric, then cross-cut the strip set into twelve 2½” units. They should look like this:

Adding More Logs to Center Quilt Block Unit
- Lay the long side of the center units on a strip of light log fabric, putting right sides together:

- Chain piece the center units onto the log fabric strip. Keep sewing center units to log strips until all the units have been sewed. Cut the units apart and trim away any extra fabric if needed, then press or finger-press the seams toward the darker fabric. The units should now look like this:

- Add two dark logs the same way you added the light logs:

- Cut the strip sets apart like this:

- Continue adding logs until you have a total of 6 light logs and 6 dark logs arranged around the center square.
- When you have added all the strips you want, square up the blocks one last time so they will fit together properly when you sew them together.
The blocks are now ready to lay out into a quilt. Here are six Log Cabin quilt patterns you may want to try.


I made a samle square with the center being 2.5 and the strips being 2.0 inches. the resulting square was .5 inches longer on one side. I’m thinking this is because of the 2.5 inch center – I was careful with all my seams to be 1/4 inch. Anyone else have this results?
Your first picture of the piecing order is incorrect I believe as 3&4 should be switched and 7&8 and so on…could you double check that?
You’re right, Olivia! Thanks for the correction. I’ve updated the image to put the pieces in the proper order.
The center square is larger because it is the hearth ( fireplace ) of the home and the logs surround the hearth and the family
Could you please tell me what the very center block is always 2 1/2 inch square instead of the same width as the strips?
Hi Lise,
Making the center square 2-1/2″ is just an artistic choice that highlights the center square. If you want to, you can make the square 2″, so it is the same as the surrounding strips. The block should still work out if you do.