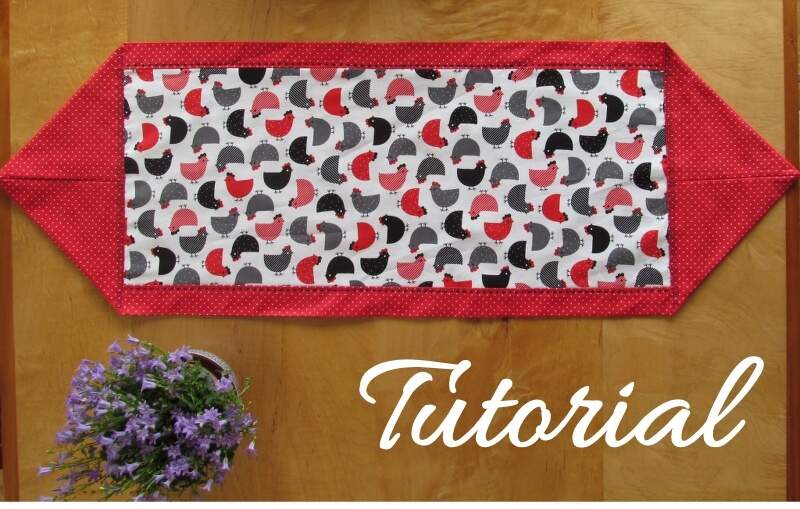
How to Make a Rag Quilt
If you are a new quilter, a charity quilter looking for fast and simple projects, or a lazy quilter like me, rag quilts are perfect for you. You don’t have to be a precision cutter or sew a perfect 1/4″ seam (I’m not very good at either, and I’m quite happy with the way my most recent rag quilts have turned out.)
This article shows you the basic technique for making a rag quilt. Once you’ve made one quilt, there are lots of other variations you may want to try.
Caution: Rag Quilting Can be Hard on Your Hands
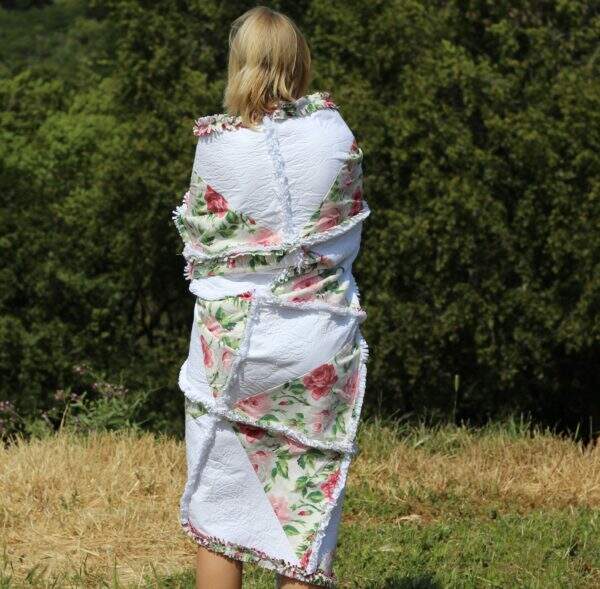
I wouldn’t recommend making rag quilts to anyone who has arthritis in her hands, carpal tunnel, or any other hand or wrist weakness. It takes a LOT of snips to clip the seams. The repetitive motion is tiring and might even cause an injury if your hands are weak. If you’re really determined to try this technique and have hand problems, recruit a strong young person to do the clipping for you. The result is so fluffy and cozy, it’s worth finding someone to delegate to:
Rag Quilt Supply List
Here’s what you will need:
- Quilt fabric for the quilt top.
- (Optional) coordinating border fabric.
- (Optional) cotton or flannel fabric to use as a middle layer. The color should look good with the top layer, since you will see the middle layer on the top of the quilt when you are finished. Shrink flannels by prewashing them before you cut them.
- Cotton fabric, flannel, or polyester polar fleece fabric for the backing. Learn more about backing quilts with polar fleece.
- Rotary cutter and cutting mat.
- Sewing machine.
- Coordinating-color, all-purpose or quilting thread.
- Specialty rag quilt snips for snipping the seam allowances. Sharp pointed-tip scissors will also work, but using snips is much easier on your hands. It takes a lot of cuts to clip a rag quilt’s seams. Rag quilt snips have a powerful spring-loaded action that makes this job much faster and less fatiguing to your hand than regular scissors. I bought my rag snips at a fabric store for about $20 U.S. If you must use regular scissors, try to use a spring-loaded type such as Fiskars. They will tire your hand less than regular scissors. This photo shows the difference between rag quilt snips and spring-loaded scissors. The snips are on the left:

How to Make a Rag Quilt, Step by Step
1. Cut the Fabrics
Cut the quilt top fabrics into 12-1/2″ square blocks.
(Optional) cut the middle layer fabric into thirty-five 12½” squares.
Cut the backing fabric into thirty-five 12½” squares.
2. Layer the Rag Quilt Blocks
Put a fleece or backing fabric square on the work surface, right side down. (Optional) put a middle layer square, right side up, on top of the backing fabric. Finally, lay a quilt fabric block on top, right side up. 
3. Machine Quilt the Blocks
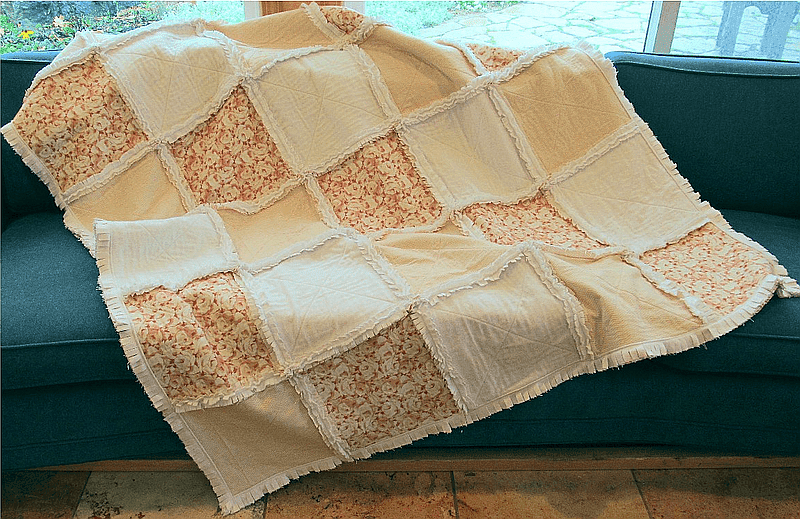
Stitch each block in the ditch along the center diagonal to secure the layers together, then add whatever other quilting you would like. I’ve made a number of rag quilts where I simply sewed an X across the square, like this:

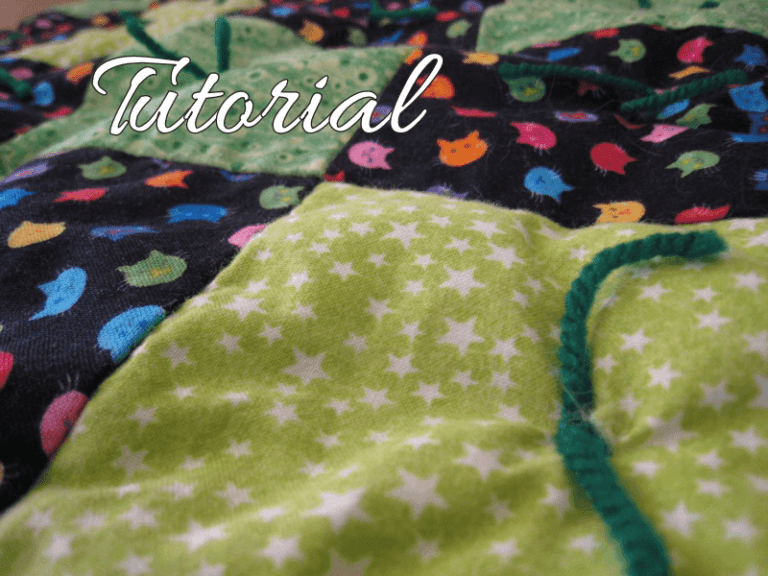
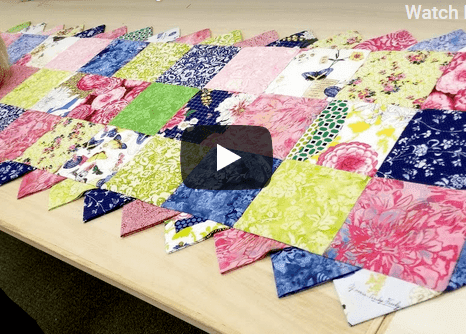
For my half-square triangle rag quilts, I used this free-motion leaf design:

Remember that you will have a 5/8” seam allowance all around the block edges, so don’t expect any quilting you do on the edges to show. I like to quilt right up close to the edges anyway, because the quilting serves to baste the block layers together. That way, the top fabric doesn’t get puckered when you sew the blocks together.
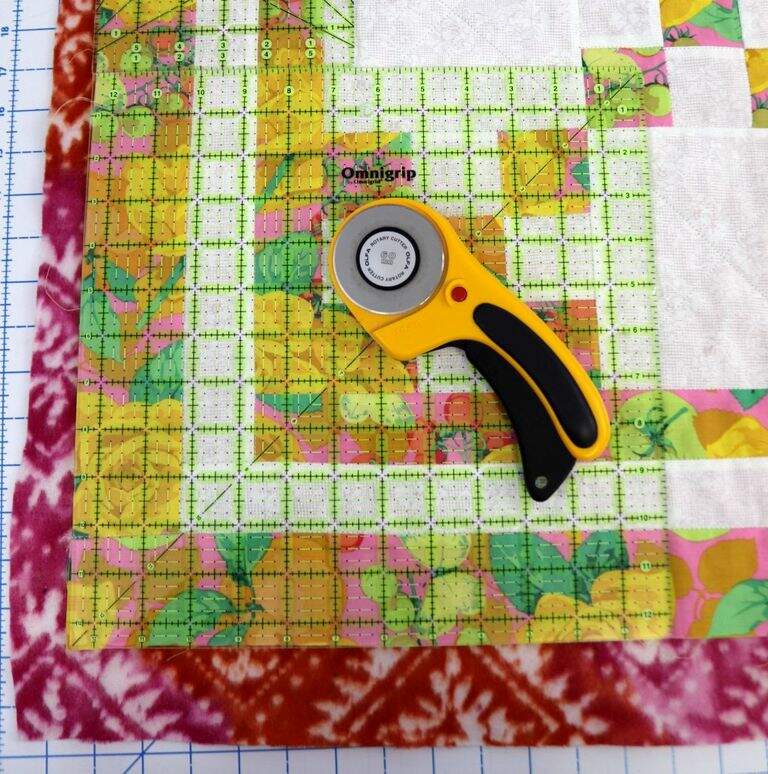
Once you are finished quilting, square up the blocks so they are all the same size. I trimmed mine to 11¾”. The trimmed-up blocks look like this:

4. Sew the Blocks Together
Arrange the blocks on your design wall or work table into a pattern you like.
Then you will sew the blocks together row by row.
Align two blocks with their back sides together, as shown in the photo below. Pin if you want to (I usually don’t.)

Sew the blocks together with a 5/8” seam allowance. I used a piece of blue painter’s tape to mark the proper distance on my sewing machine’s bed.

Check after sewing to make sure the raw seam edges are on the TOP of the quilt, not the back side, as in most quilts. When you have each row assembled, sew the rows together, working from the top of the quilt to the bottom. Lay the rows with back sides together. Use a 5/8” seam allowance. I do pin the rows together at this stage to help align the blocks with each other.
The seams will be quite bulky. You may have to manhandle them under the needle.
When all the rows have been joined into a single unit, they should look something like this:

5. Add Borders
Measure the quilt horizontally and vertically before you cut the border fabrics, so you can make sure your borders fit.
Cut the border fabric into 5”-wide strips: two strips about 67” long and two strips 82” long. Adjust to the actual length and width of your quilt’s central section. Join shorter strips if necessary to make the borders long enough.
Cut four matching border strips of backing fabric or polarfleece.
(Optional) cut four same-size strips of middle fabric.
Layer the border fabrics the same way you layered the quilt blocks: with backing fabric right side down; middle fabric right side up, and top fabric on top, right side up.
Lay the side border sandwiches on the quilt body, one at a time, aligning backing fabrics together. Pin and sew the borders on with a 5/8” seam allowance. Make sure the seam allowances show on the top of the quilt:
Follow the same procedure to add the top borders.
Square up the quilt with a ruler and rotary cutter.
Sew all around the outside of the quilt, two inches from the outer edge of the borders. This stabilizes the fringe you will cut in the next step.
6. Snip Seams and Outer Edges
Use rag quilt snips or sharp pointed, spring loaded scissors to clip along all the seam allowances between blocks. Put the cuts as close together as you can. The more cuts, the more ragged the sashing area looks. Be careful not to clip through the seams themselves. If you did, resew that seam on the sewing machine.
Use your rotary cutter to cut a fringe all around the quilt’s outside border. When you are done, it should look like this:

7. Wash the Quilt
Washing and drying is what frays the quilt’s snipped edges and makes it fluffy. Warning: washing a flannel quilt can produce a great deal of lint that might clog your water line. If you have a Laundromat nearby, it’s safer to wash the quilt there. I find that the fleece-backed quilts don’t generate nearly as much lint as all-cotton ones.
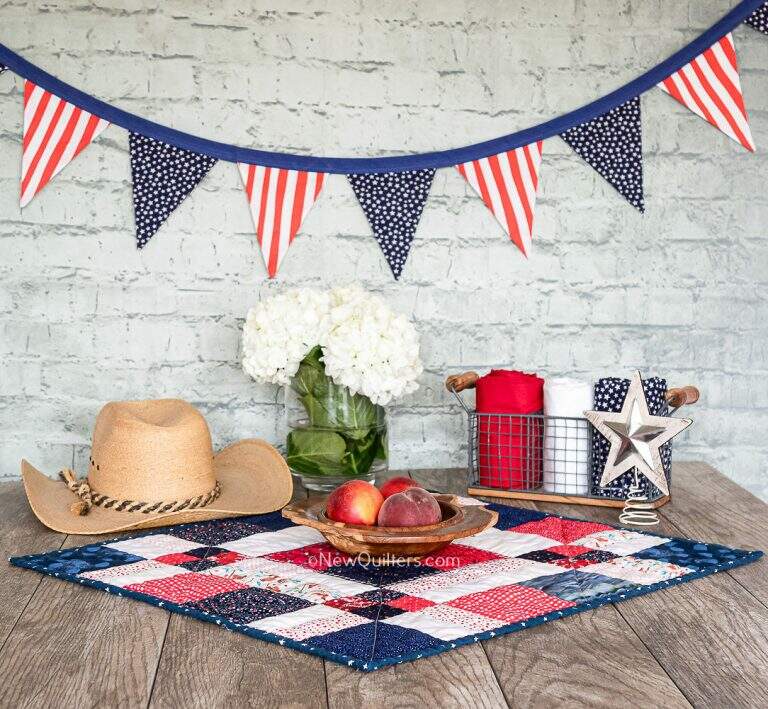
A rag quilt is a great way to use up fabric and fleece left over from other projects. Once you’ve made one, you’ll want to make lots of them!

Not sure why the pictures that go with your instructions aren’t showing-just blank white squares.
Sorry, I’ve had some major security updates on my blog and some of the photos are missing. I’ll take a look at this post and see if I can replace the.